Monday, June 8, 2015

Hazel's Nursery


We welcomed little Hazel into the world in January and I wanted to share a peek inside her nursery. As soon as I found out I was having another girl my mind starting automatically brainstorming what I wanted her room to look like. I'm excited to share the finished product with you below.


Since Harper was no longer sleeping in her crib I was able to pass that down to Hazel, as well as her rocker and changing table. They're all white so I pretty much had a blank canvas to work with. I found this rug at anthropologie and knew right away that I wanted that to be the focal point of the room. Ironically I found this turkish throw pillow on etsy that just happen to be a perfect match to the rug! I worked the rest of the colors of the room around the rug; pops of fuchsia, coral and accents of gold.


Most of the little trinkets and personalized decor I found on etsy.com 
The adorable moccasins are by freshly picked and were a gift from a good friend.


The bed sheet is from aden and anais and the bed skirt is from Restoration Hardware Baby
The silver star and gold heart throw pillows are also from Restoration Hardware Baby.

The cloud with hearts mobile is by Baby Jives Co.


I had this framed baby lamb print over the crib when it was in Harper's room. I loved it so much I ordered four more baby animal prints from The Animal Print Shop that I hung over the rocking chair.


These gold and white book shelves were exactly what I was looking for to display family pictures, books and other trinkets. I found them at the land of nod


This gold sunburst mirror that sits over the changing table is also from anthropologie. 

We painted the wall Benjamin Moore Pale Almond. It's the perfect neutral shade to compliment the rest of the room.


Monday, May 25, 2015

Memorial Day BBQ


This was a perfect first weekend to kick off summer. We spent time upstate with my family which consisted of a lot of time by the lake; boating, bon fires and of course, making s'mores. Then on Monday we had friends over for a BBQ. After a long and busy winter (which included having my second daughter in January... Hence why I haven't been on here very much in the past few months) 
I'm so looking forward to the warm summer days ahead and getting back into cooking and entertaining. 

For our BBQ today we served ribs and burgers and kept it simple for sides; tomato & mozzarella, Cole slaw and a deconstructed Mexican street corn salad. It was so delicious and really simple to make. I'm sharing the recipe below. I insist you try it for your next BBQ, or even for dinner tonight.
Your guests will thank you!


Deconstructed Mexican Street Corn 

What you'll need:
6 ears of corn, husked 
4 tablespoons mayo
3 tablespoons fresh squeezed lime juice
1/2 cup grated Parmesan cheese
1/4 teaspoon paprika, plus more for garnish
3 tablespoons chopped fresh cilantro, plus more for garnish
salt & pepper

Directions:
Husk and boil corn for about 12 minutes. 
Prepare the grill and grill corn, turning occasionally, until charred. (about 10-15 minutes). Take off and let cool. Cut the kernels from the cob and transfer to a bowl.

In a separate bowl whisk together the mayo, lime juice, paprika, Parmesan cheese and cilantro. Season with salt & pepper to taste. Add this mixture to the corn and toss. Top with a sprinkle of paprika and cilantro. You can also add a few extra pinches of Parmesan cheese on top.
Enjoy!


Monday, December 15, 2014

Minted.


Some of the art I ordered from minted arrived today. I'm so excited to get these framed and up in our bedroom. If you haven't already I highly recommend checking out the site.
By shopping Minted, you support a community of thousands of artists.  Artists from all over the world enter their competitive design challenges. Every limited edition art print has been voted on by artists, designers and shoppers.

Right now they have a promotion going on; 20% off Art with promo code GIFT20 and free 2-day shipping (on order over $75) with promo code GIFTFS2

Stay tuned for these framed and hung!


Tuesday, December 9, 2014

Harper's 3rd Birthday


My daughter Harper turned 3 in November. 
She loves all arts and crafts so we decided to do an "Art Studio" theme. I was a little nervous that the arts and crafts wouldn't hold the attention of 30 three year olds but it ended up working out perfectly.  Everyone not only had a blast but got to take home their own painted canvas. 

I purchased individual canvas's for each kid at Michael's to decorate with washable paint, glitter pens and foam letter stickers. So the parent's wouldn't totally kill me for their kids making a mess I got each kid their own smock to wear while painting.

I wrapped a smock around each canvas and a little custom tag that read "Paint, Glitter & Stickers too, Create your own canvas to bring home with you".

In addition to the canvas painting I set up a table with play doh and play doh accessories. This happened to be a huge hit!

I also got a bunch of boxes of noodles and died them the colors of the rainbow. Each kid made a "noodle necklace" to take home with them as well.

To tie in with the "Painting" theme I hired Maria Rocco to do face painting. She did an amazing job. Each kid left looking like a princess or super hero.

 For dessert we had a paint palette birthday cake, paintbrush pretzels, mini rainbow cupcakes and paint dipped strawberries. All of them home made.

As a give out I ordered a water color paint set for each kid and wrapped it with a paint palette lollipop and custom tag that said "Thank you for making my birthday a masterpiece".

The party was a huge hit! Harper had a blast and we now have enough paint supplies to get us through a very long winter ahead!


Invitation

Custom signage
Invitation Celebration

&
Larkspur Studios

Canvas's

Smocks

Face Painting

Water color paint palette

Rainbow Table Cloths 

Paper goods

All desserts were home made 


Friday, May 23, 2014

Friday I'm in Love


I'm always keeping an eye out for cute & unique clothing for Harper. I came across mamacase prints on etsy.com.
Kacie is based out of Austin, TX, where all of her items are designed and printed in her home studio.
All her materials - shirts, screens and ink are made in the USA.

It was hard choosing which Tee to order as they are all so adorable. 
Ultimately I choose the "Friday I'm in Love" tee. I mean really, does it get any cuter?
It's super soft and comfy - I will definitely be ordering more! 
I think "oh grow up" may need to be my next purchase.
Tees are $22 and onsies are $20.


Mention ShabouShari in your notes section at check out!


Thursday, May 22, 2014

Easy weeknight dinner, Pasta alla Norma

Weeknight dinners are hard. With everything that needs to get done during the day sometimes making dinner is the last thing you have time for, or feel like doing. 
The below pasta dish you can whip up quickly. You probably have most of the ingredients in your cabinet already. And the eggplant is a great way to get your serving of veggies in. 


Pasta alla Norma

What you'll need:
- 2 firm eggplants, peeled and cubed
- Extra virgin olive oil as needed
- 1 tablespoon dried oregano (or 1 teaspoon fresh)
- Pinch of red pepper flakes (this is optional)
- 4 garlic cloves, minced
- Handful of fresh basil, finely chopped
- (2) 14-ounce cans good quality chopped tomatoes (I like San Marzano)
- Salt and pepper to taste
- 1 pound pasta
- 6 ounces salted ricotta salata (you can substitute with feta)

Directions:
Remove skin from eggplants and cut into cubes.
In a nonstick pan heat oil. Fry the eggplant cubes in batches, adding extra oil if needed. Sprinkle with a pinch of salt & pepper and the oregano. Keep turning the eggplant cubes until browned on all sides. 
Turn the heat down to medium and add the minced garlic and half of the basil. Add in the pinch of red pepper flakes (if you want a little spice). Toss everything well and add the 2 cans of tomatoes. Simmer about 15-20 minutes. 
While the sauce simmers cook the pasta in salted boiling water. When it is al dente drain it, reserving about 1/4 cup of the cooking water. Toss the pasta straight in pan with the sauce and add in the reserved cooking water.
Toss & cook for an additional 5 minutes.
Take off heat and add in the rest of the basil and a drizzle of olive oil. Sprinkle cheese on top and serve immediately. 


Tuesday, May 20, 2014

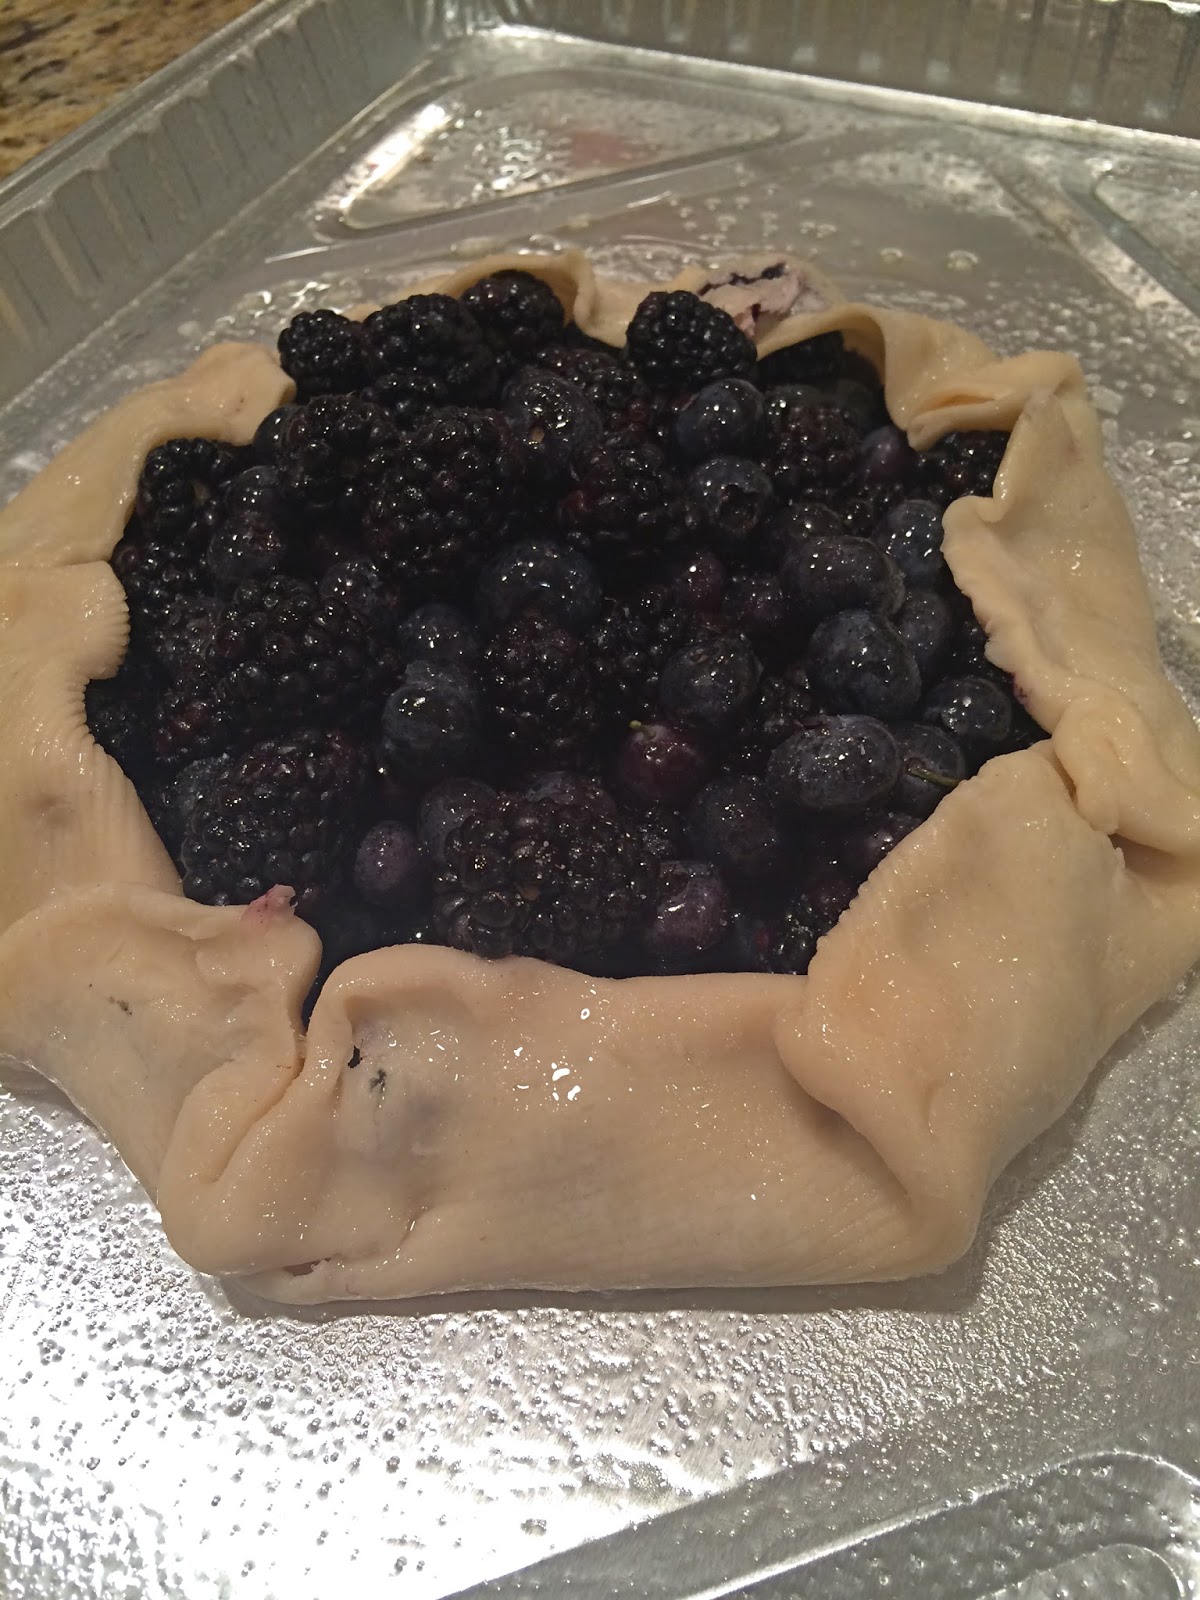
Easiest Blueberry Galette

I am not usually a baker. I can easily spend hours in the kitchen whipping up a braised short rib or home made pasta but something about dessert scares me. Maybe it's all the precision and measuring that goes into. (Math is not my forte). However the below galette recipe is so simple it's basically foolproof. 
It takes all of 5 minutes to prepare, 25 minutes in the oven and guaranteed delicious. Top with a dollop of vanilla ice cream and I promise rave reviews.
If you are looking for a dessert to bring to a Memorial Day party this weekend this is sure to be a hit!
You could use a mix of blueberries and raspberries for that red, white and blue spirit.

recipe below.


What you'll need:
3 cups berries of your choice (I used a mixture of blueberries and blackberries)
2 tablespoons cornstarch
1 tablespoon lemon juice
1 tablespoon finely grated lemon zest
1/4 teaspoon salt
1/2 cup sugar, plus 1 teaspoon for dusting crust
1 (9 inch) frozen pie dough (thawed) 
1 tablespoon unsalted butter, in small cubes
1 egg, beaten

Directions
Pre heat the oven to 425 degrees.
In a bowl stir together the berries, cornstarch, lemon juice, zest and sugar. 
Unfold the pie crust on a greased baking sheet. 
Spoon the berry mixture onto the center of the dough, leaving about an inch or so at the edges. 
Fold the edges of the dough over the berry mixture, pleating the dough where necessary. You can just use your fingers to pinch together. 
Brush the pie crust with beaten the egg & sprinkle with the teaspoon of sugar. Place the cubes of butter on top of the berries. 
Bake about 25 minutes, until berries are bubbling and crust is golden. Let cool and top with vanilla ice cream. Serve warm.